Saturday, September 7, 2013

what did i do this summer? warning: photo heavy

I can't believe the summer is over.  As usual, I had lofty goals and planned to sew lots of items for the baby, as well as for all my friends currently having kids of their own.  However, the days passed fast, and it is hard to believe she will be here in just 7 weeks!  We are so excited to finally meet her, but also anxious about all that we have left to do before her arrival.

Still, I was able to get some of my goals accomplished, finished some gifts for friends, and finally opened an Etsy store, which felt more like taking a huge leap off a very tall building.

So, here goes.

Some custom gift sets...


Lots of personalized burp cloths...


Many an embellished onesie...


Sunday, March 10, 2013

iphone sleeve with applique


I bought my first iPhone a few months ago.  While it has a rubber cover, I still don't like the fact that I can't safely toss it into my bag or purse without it getting scratched, cracked or dinged.

So I decided to try making an easy sleeve/cozy/cover for my phone and thought I'd make one for my sister's phone as well.

She is a Fleetwood Mac fan.  In fact, I think she should have been a teenager in the '70s because she is the queen of classic rock.  We are going to see Fleetwood Mac next month, so I had an idea for her iPhone sleeve that I thought she might like.

First, I drew a little cassette tape (sadly, none of my third graders know what this is).


I cut the paper into individual pieces and traced them onto a sheet of Wonder-Under I love that stuff!  

Then I pressed each individual piece onto fabric to create some iron-on applique.


I used two strands of embroidery thread to hand stitch around the borders (which is incredibly relaxing, but time-consuming!) and also added some extra details and embellishments to make it look more realistic.


Finally, I sewed a simple sleeve for her phone.  Safe and sound.


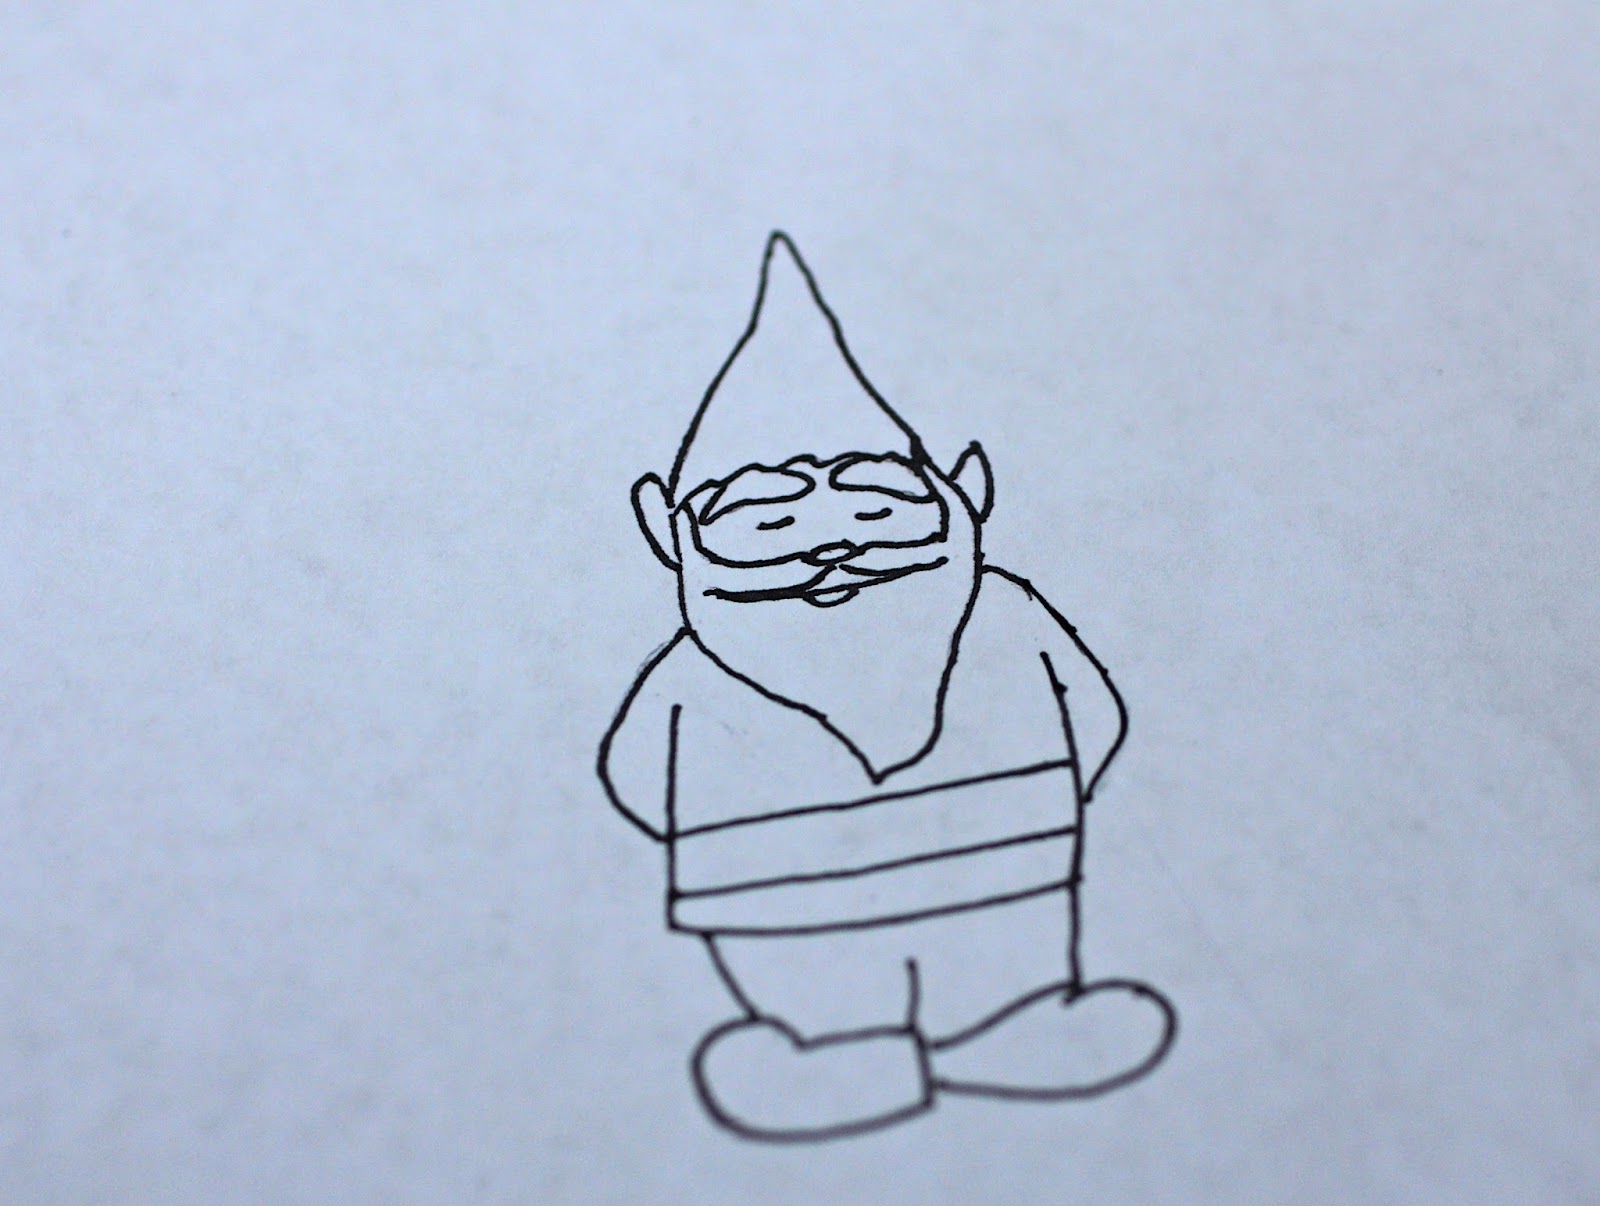
For my phone sleeve, I drew this little gnome, but have yet to get started.  Daylight savings threw me for a loop today, so hopefully I'll get started on it sometime this week...


Wednesday, March 6, 2013

snow day


It feels good to have a day off.
It feels even better to be productive on that day off.

I woke up this morning and made some bibs with matching washcloths.  I can't wait to give these as gifts to the mother-to-be.   

For the bibs I used this pattern from Sew She Sews.  For the washcloths, I hastily measured 8" x 8" squares.  Next time I'll try cutting them a bit straighter.


I found a white beach towel that I had never used.  While soft as velvet, it had a silly logo.  So it was just another item headed for the Goodwill pile.  However, it works out perfectly as a backing to all the bibs and washcloths, and I'm glad I could repurpose it.

In hindsight, white thread would have been more aesthetically pleasing (duh!).


I have a little left over, so maybe I will add burp cloths to finish the sets.

Saturday, March 2, 2013

quilted bib with recycled backing: a tutorial


Since making a recent quilt top for a friend's baby girl, I thought it would be nice to include a matching bib as part of the gift.  I wasn't sure if it was worth the time to quilt such a small item, but in hindsight, I'm so glad I did.  I was also happy to recycle an old pink towel, which makes a bright and absorbent bib backing.

Start by gathering the "ingredients" necessary for your bib.


You will need:
  • a reusable towel  -11.5" x 14" rectangle
  • batting -11.5" x 14" inch rectangle
  • 30- 2.5" x 2.5" fabric squares (if you're looking for a quicker finish, use mini charm packs)
  • disappearing tracing pen/marker
  • pins, thread, scissors
  • velcro or snap enclosure
  • point turner or other object to poke out corners/edges of bib
Lay out your fabric squares to your desired design.  I tried to follow the pattern of my larger quilt as much as possible.


Then, sew your squares into six rows using a 1/4 inch seam allowance.


After sewing the rows, use an iron to press open your seams for a crisp and clean appearance.


Sew your six rows into three thicker rows, then press all seams open again.  Finally, sew your three rows into one small quilt top, pressing your seams open one final time.  I pinned my rows together as I went along to keep everything straight and secure.


Like a regular quilt, I pinned my "top" to the piece of batting to keep it in place while sewing.


Then use your walking foot to quilt the top to the piece of batting in whatever pattern you wish.  In this case, I preferred basic straight lines in a vertical/horizontal grid.  Pull the pins out as you finish.


Trace a pattern for your bib.  I found and printed half a dozen free bib patterns online before selecting this one by Sew She Sews.  I traced one half using an erasable marker, then flipped the pattern and traced the other side.


Once traced, carefully cut out the bib along the line.


Place the bib right side down onto your towel.  Pin the three layers together to keep them secure.


Use your machine to stitch around the outer edge of your bib, leaving a 3-inch opening to turn it inside out later.


Cut out the bib again, being careful not to cut your stitching.  Leave a longer tab at your opening for easier finish later.


Turn your bib inside out, using a point turner or other tool to ensure that all corners/edges are pushed out.  I used my marker, and it seemed to do the trick.  Then, securing the longer tab on the inside, carefully pin your opening closed.  I pressed mine to flatten the edges, which made sewing it much easier after.


Sew around the very edges of your entire bib, making sure to reinforce the opening.


Finally sew in velcro or attach snaps or ribbons as closures.


Monday, February 18, 2013

three day weekends = bliss


I got more accomplished this past weekend creative-wise than I have in months.  Perhaps it was due to the fact that a friend is expecting a baby soon, and I felt inspired to make a girly gift.  Or maybe it was because I knew I had that one extra day to get laundry and other household tasks finished, meaning more time to sew and obsess over new fabric lines.


It's on these days that I dream about staying home and sewing for a living.  I would love to take classes, improving my clumsy skills.  I would love to wake up in the morning, cup of coffee in hand, as I decide which fabric will be used for my next idea.  I would love the ability to create and earn a living from my own two hands.


But then reality sinks in, and I try not to dwell too much when the alarm goes off, my toes hiding under the covers, the rest of my body unwilling to inch out of the bed.


So, it was a productive weekend.  I was able to complete a baby quilt top using Aneela Hoey's Posy and also decided to make a bib using the same line of fabric.  Then I found this old towel about to be placed into the "rag" pile and thought I might be able to recycle it.  When I moved here almost 14 years ago, I brought some hand-me-downs from home, and this towel was one of them.  Perhaps I can back the baby bib with a little bit of retro?


Sunday, February 10, 2013

the table


In an attempt to a) get organized and b) become inspired by having a creative space of my own, I finally broke down and splurged on the Bedford project table from Pottery Barn.  I found a similar table on Amazon, but it only had three so-so reviews and didn't look as well-made.  I also found a homemade one that looked incredible, but I don't have the woodworking skills nor the time to make it.

So after pondering it for weeks, I finally broke down and bought THE table.  I don't spend money on myself and rarely shop (unless I'm buying fabric!), so I tried not to feel too guilty.  It fits in nicely with our dining room furniture and now allows me my own space to be creative, thus preventing me from sewing on the coffee table with fabric spread out across the living room floor.

I like that I can display some of my pre-cuts and fat quarters on the shelves, allowing me to see what I have when creating new items.  Now, I just need to get the rest of my fabric organized...