Showing posts with label tutorial. Show all posts

Sunday, June 22, 2014

custom baby bibs: a tutorial


Looking for a custom baby gift that doesn't break the bank?

While I have sewed baby bibs from scratch, sometimes you need to make a gift in a pinch.  This raw edge applique bib can be customized and completed in two hours or less, assuming you have the necessary supplies.

Gather the following:
  • blank baby bib (Blank bibs are available in a variety of colors at Target, Wal-Mart or on Amazon)
  • colorful fabric scraps for your letters
  • iron-on adhesive (Wonder Under, Heat n Bond, etc.)
  • white 100% cotton thread and a sewing machine, or a sewing needle if you don't have a machine
  • cardstock
  • scissors, pen
Select a desired font via a word processing program and print your "outlined" letters onto cardstock, as this is more durable and easier to trace than paper.


Cut out your letters.  When you encounter the "middles" you can just snip a straight line through to finish cutting.


After cutting all letters, place them on the bib to be sure they will fit before continuing.  Adjust, as needed.


Trace all of your letters and shapes upside down (see photo) onto the paper side of the iron-on adhesive.


Carefully cut out your letters and shapes, leaving a slight space around each.


Select your fabrics.  This is a great way to get rid of those fabric scraps!

Place the letter (or shape) glue side down onto the wrong side of the fabric.  Carefully press your iron over the shape until it has adhered to the fabric.  Do not rub.  Do not use steam.  If you're unsure how long to press, read the instructions for your particular adhesive first, as they vary slightly from brand to brand.


Once you have ironed all of your letters and shapes, you should have a colorful little pile ready for trimming.


Cut out each letter along the lines you have traced.

When you encounter "middles" in letters, gently fold the letter in half and snip a small slit.  Then carefully cut around the inside using micro-tip scissors.  I use these, but there are many types available that would work.  Good quality scissors are definitely key when completing this project.


Once all letters have been cut, you can peel the paper backing from each.

Depending on the brand of adhesive that you use, some can easily be peeled.  Others require a bit more manipulation.  When that happens, you can gingerly use the tip of your scissors to take the paper off.  If you do this, just be extra careful not to cut through your fabric.


Arrange your "ready to iron" letters on the bib with the adhesive side down.


Press and lift your iron until the letters are "stuck" onto the fabric.  I usually hold the iron down for 2-3 seconds, then lift, then press again in a different spot, making sure I attend to all the letters.

Again, please check your adhesive's instructions if you're not sure about heat settings on your iron.


Now you should have a stack of bibs ready to be stitched.

Almost finished!


You can either leave the bibs as is or "finish" them with some thread.  If you do not have access to a sewing machine, you can use embroidery thread and a needle to stitch around the letters for extra durability.

If you are using your sewing machine, sew a straight stitch around the edges (and insides!) of all your letters.  If you haven't done this before, it's like tracing and takes some practice.  It can be a bit tricky, but it gets easier the more you do it.

I prefer white thread because I like the contrast.  However, if you use a different color, remember to use white thread on your bobbin so it blends well on the back side of the white bib.


And there you have it...ready to be gifted to someone special!


Saturday, June 14, 2014

a pinny for your thoughts

I love the look of pinafores on baby girls.  Perhaps it's their simplicity or that they are just timeless.

As I searched for more tutorials, I came across this pinafore circa 1912 from the MET, which proves this style has been around for well over one hundred years.  It looks very similar to the crossover pinafore I made for Sophia after finding a free tutorial here courtesy of Maggie at Smashed Peas and Carrots.

While this was quick to sew, it did use up a lot of fabric, which is worth it if you intend to make it reversible.  I have yet to add buttons to the other side, so the polka dots remain hidden, but that's an easy fix.

In making this, I learned some important lessons along the way:
1) Cutting corners is imperative (literally, but not figuratively).    Prior to turning the pinny right side out, one needs to carefully trim the edges so it lays flat when finished (per the instructions).  I did not do this well and rushed, so my rounded edges weren't as round as they should have been.  Notice they look a tad geometric.


2)  Invest in some coordinating buttons.  I have a random assortment, and finding two that actually matched was quite a feat; the pair I did find was shiny and purple, which didn't work well with these particular colors.

Still, I didn't want to leave another project unfinished so I thought they'd be okay for this pinafore.  Wrong!  See below.  (Yes, I need a pedicure.)


Alas, I had already sewn them on and wasn't sure what to do.  Then I located another helpful tutorial on how to make fabric-covered buttons that didn't require a kit.  Hooray!

So I traced (use disappearing ink or chalk) and cut...


Stitched all around the outer edge so the button was covered...


Then pulled, gathered, and knotted it so the stitching was hidden.

All finished!


Now if only she'd stay still long enough to get a decent photo...


Saturday, March 2, 2013

quilted bib with recycled backing: a tutorial


Since making a recent quilt top for a friend's baby girl, I thought it would be nice to include a matching bib as part of the gift.  I wasn't sure if it was worth the time to quilt such a small item, but in hindsight, I'm so glad I did.  I was also happy to recycle an old pink towel, which makes a bright and absorbent bib backing.

Start by gathering the "ingredients" necessary for your bib.


You will need:
  • a reusable towel  -11.5" x 14" rectangle
  • batting -11.5" x 14" inch rectangle
  • 30- 2.5" x 2.5" fabric squares (if you're looking for a quicker finish, use mini charm packs)
  • disappearing tracing pen/marker
  • pins, thread, scissors
  • velcro or snap enclosure
  • point turner or other object to poke out corners/edges of bib
Lay out your fabric squares to your desired design.  I tried to follow the pattern of my larger quilt as much as possible.


Then, sew your squares into six rows using a 1/4 inch seam allowance.


After sewing the rows, use an iron to press open your seams for a crisp and clean appearance.


Sew your six rows into three thicker rows, then press all seams open again.  Finally, sew your three rows into one small quilt top, pressing your seams open one final time.  I pinned my rows together as I went along to keep everything straight and secure.


Like a regular quilt, I pinned my "top" to the piece of batting to keep it in place while sewing.


Then use your walking foot to quilt the top to the piece of batting in whatever pattern you wish.  In this case, I preferred basic straight lines in a vertical/horizontal grid.  Pull the pins out as you finish.


Trace a pattern for your bib.  I found and printed half a dozen free bib patterns online before selecting this one by Sew She Sews.  I traced one half using an erasable marker, then flipped the pattern and traced the other side.


Once traced, carefully cut out the bib along the line.


Place the bib right side down onto your towel.  Pin the three layers together to keep them secure.


Use your machine to stitch around the outer edge of your bib, leaving a 3-inch opening to turn it inside out later.


Cut out the bib again, being careful not to cut your stitching.  Leave a longer tab at your opening for easier finish later.


Turn your bib inside out, using a point turner or other tool to ensure that all corners/edges are pushed out.  I used my marker, and it seemed to do the trick.  Then, securing the longer tab on the inside, carefully pin your opening closed.  I pressed mine to flatten the edges, which made sewing it much easier after.


Sew around the very edges of your entire bib, making sure to reinforce the opening.


Finally sew in velcro or attach snaps or ribbons as closures.


Thursday, December 6, 2012

a minky blanky mishap

Well, perhaps I was too confident...

Knowing that one of my closest friends is due to give birth to a baby boy sometime in January, I have been thinking about what handmade gifts I can sew for him.  I finished a quilt top a few days ago and I think I've found the fabric with which to back it:  brown polka dot flannel on sale at Jo-Ann's for only $2.99 a yard!

However, I thought it would be fun to stray from my normal routine in an attempt to learn some basic sewing skills.  After all, I made plenty of Barbie and Cabbage Patch doll clothes when I was a kid, so it couldn't be too hard, right?  (Did I mention those doll clothes were often lopsided?)

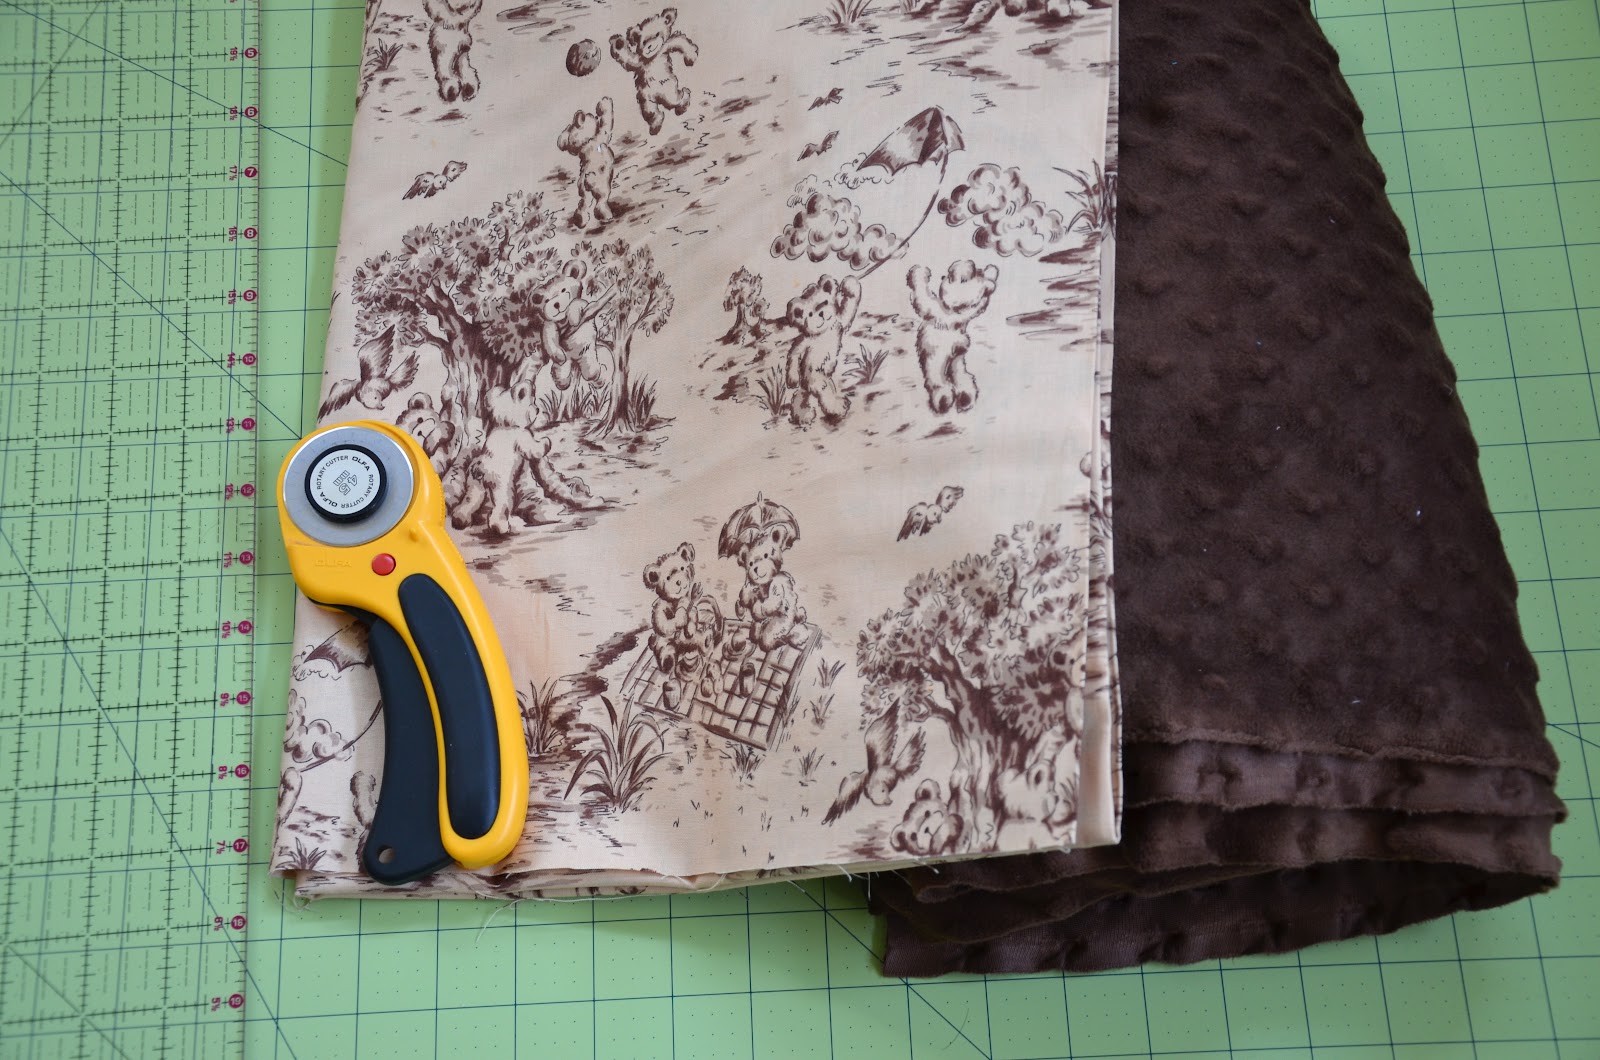
So when I spotted some adorable teddy bear fabric at Jo-Ann's today, I thought it would be fun to try and sew a "simple" baby blanket backed with brown minky.  I have never sewn with this fabric before, so I didn't quite realize its reputation.  After all, it's soft and cuddly!  But today I learned (the hard way) that sewing with it is-especially for a beginner-a bit of a disaster.

Many have attempted this task before me, so while it's nothing new and fresh, I'll still offer my basic how-to, then I'll end with what I've learned and what I'll do differently in the future.

I started by gathering all of my "ingredients" for a baby blanket: front and back fabric, a cutting mat, rotary cutter, fabric scissors, and coordinating thread (I used brown 100% cotton thread).


I laid the cotton fabric on my board and cut out a 26x24 inch piece.  (In the future I would use at least a 30x30 square of fabric for this.)  I cut the minky to the same size, although this was a tad trickier than the cotton.

Once cut, I put the right sides of the two fabrics together, while flattening everything out as nicely as possible and pinning.  I think I redid this 3 or 4 times, because the fabric kept bunching. In hindsight, I should have pinned them together even more.

Using one of my new Fiestaware bowls (this seems to be the popular choice for rounded corners), I cut around the edges.  Note: FIRST, use a tracing pen or pencil, THEN cut.  I made the hasty mistake of trying to rotary cut around the bowl, which proved a foolish idea.


With all edges pinned, I sewed together the raw outside edges of the blanket (about 1/2 inch in from the edge), leaving a 3- or 4-inch opening to easily turn it inside out later.


Once I was done with this, I turned the blanket right side out and ironed it so everything was smooth and set in place.  TIP: DO NOT iron minky dot fabric on a high setting.  In fact, you probably shouldn't iron minky fabric at all.  I didn't realize until the very end that I had mistakenly flattened some of my minky dots into mini pancakes.  (Yoi!)


In hindsight, I would have pre-washed and ironed the cotton fabric prior to making the blanket. (Again, a beginner's mistake!)

I then pinned the opening closed (making sure the raw edges were tucked in first) and sewed a final seam about 1/4 inch around the outer edge of the blanket.


I washed it on gentle setting in cold water with some Woolite.  Taa daa!


What I learned...
  1. Minky is stubborn, slippery, and stretchy.
  2. Do not iron minky dot!
  3. Pin together your two fabrics like crazy as the minky bunches and stretches like nobody's business.
  4. Pre-wash any non-minky fabric, as it will shrink and minky won't.
Perhaps I should stick with cotton fabrics from now on?

Good luck!