Showing posts with label beginner. Show all posts

Thursday, December 6, 2012

a minky blanky mishap

Well, perhaps I was too confident...

Knowing that one of my closest friends is due to give birth to a baby boy sometime in January, I have been thinking about what handmade gifts I can sew for him.  I finished a quilt top a few days ago and I think I've found the fabric with which to back it:  brown polka dot flannel on sale at Jo-Ann's for only $2.99 a yard!

However, I thought it would be fun to stray from my normal routine in an attempt to learn some basic sewing skills.  After all, I made plenty of Barbie and Cabbage Patch doll clothes when I was a kid, so it couldn't be too hard, right?  (Did I mention those doll clothes were often lopsided?)

So when I spotted some adorable teddy bear fabric at Jo-Ann's today, I thought it would be fun to try and sew a "simple" baby blanket backed with brown minky.  I have never sewn with this fabric before, so I didn't quite realize its reputation.  After all, it's soft and cuddly!  But today I learned (the hard way) that sewing with it is-especially for a beginner-a bit of a disaster.

Many have attempted this task before me, so while it's nothing new and fresh, I'll still offer my basic how-to, then I'll end with what I've learned and what I'll do differently in the future.

I started by gathering all of my "ingredients" for a baby blanket: front and back fabric, a cutting mat, rotary cutter, fabric scissors, and coordinating thread (I used brown 100% cotton thread).
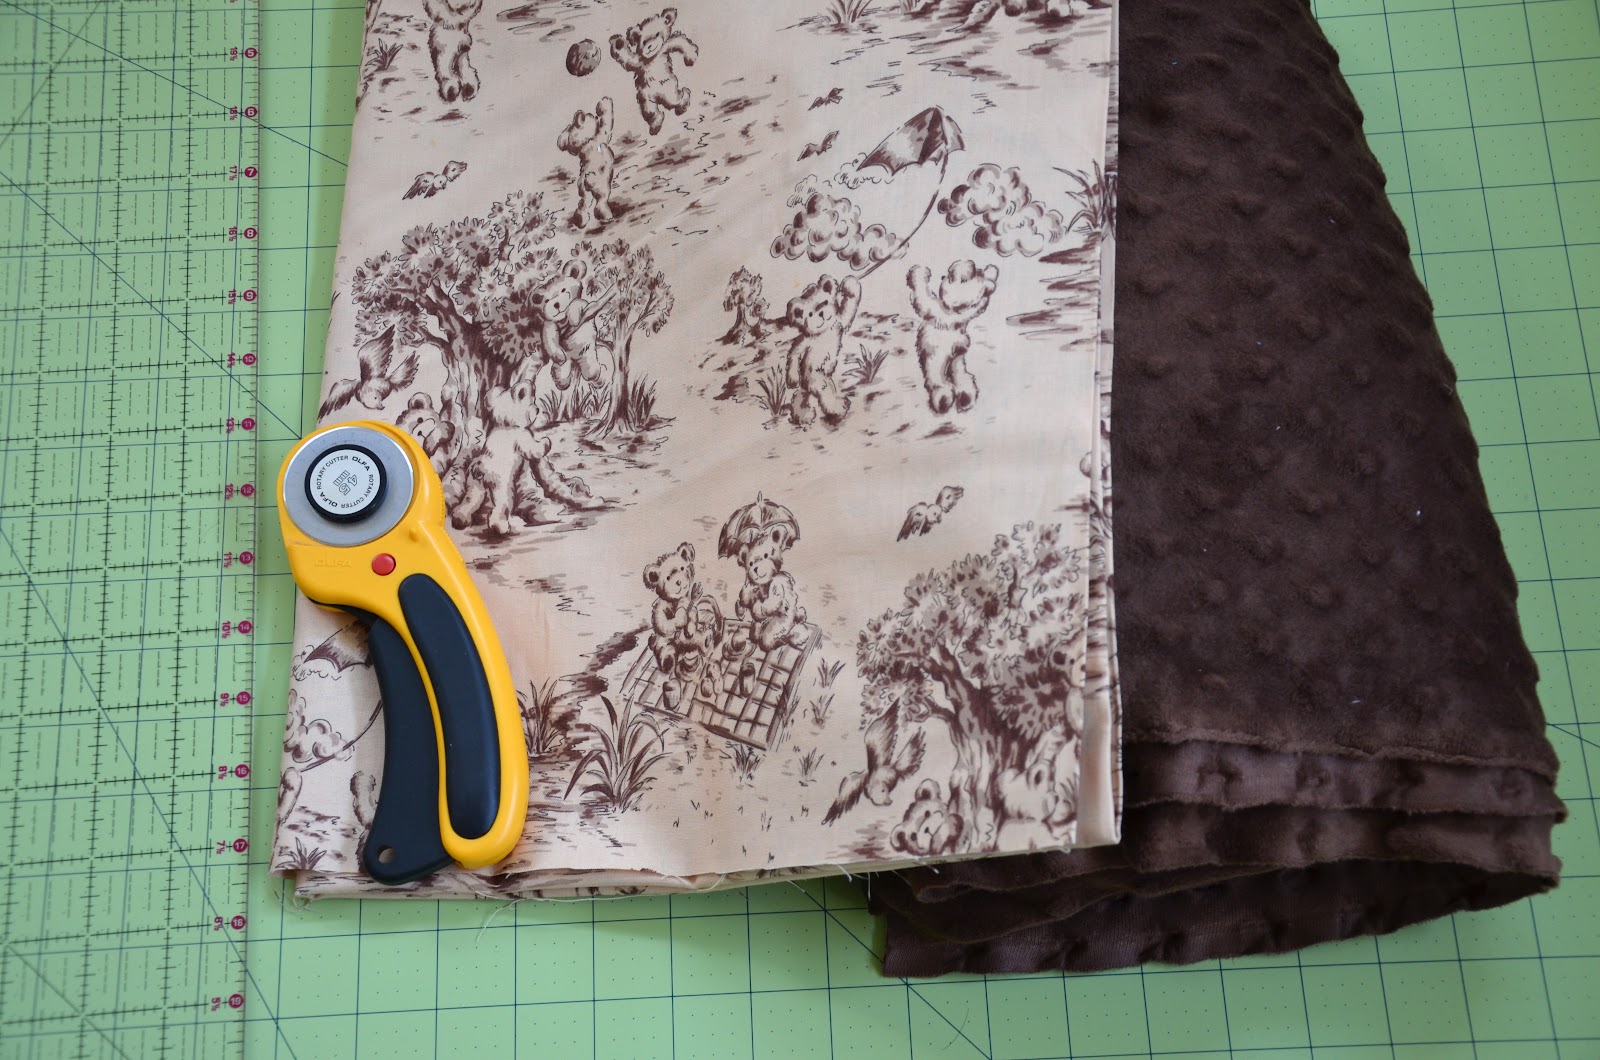

I laid the cotton fabric on my board and cut out a 26x24 inch piece.  (In the future I would use at least a 30x30 square of fabric for this.)  I cut the minky to the same size, although this was a tad trickier than the cotton.

Once cut, I put the right sides of the two fabrics together, while flattening everything out as nicely as possible and pinning.  I think I redid this 3 or 4 times, because the fabric kept bunching. In hindsight, I should have pinned them together even more.

Using one of my new Fiestaware bowls (this seems to be the popular choice for rounded corners), I cut around the edges.  Note: FIRST, use a tracing pen or pencil, THEN cut.  I made the hasty mistake of trying to rotary cut around the bowl, which proved a foolish idea.


With all edges pinned, I sewed together the raw outside edges of the blanket (about 1/2 inch in from the edge), leaving a 3- or 4-inch opening to easily turn it inside out later.


Once I was done with this, I turned the blanket right side out and ironed it so everything was smooth and set in place.  TIP: DO NOT iron minky dot fabric on a high setting.  In fact, you probably shouldn't iron minky fabric at all.  I didn't realize until the very end that I had mistakenly flattened some of my minky dots into mini pancakes.  (Yoi!)


In hindsight, I would have pre-washed and ironed the cotton fabric prior to making the blanket. (Again, a beginner's mistake!)

I then pinned the opening closed (making sure the raw edges were tucked in first) and sewed a final seam about 1/4 inch around the outer edge of the blanket.


I washed it on gentle setting in cold water with some Woolite.  Taa daa!


What I learned...
  1. Minky is stubborn, slippery, and stretchy.
  2. Do not iron minky dot!
  3. Pin together your two fabrics like crazy as the minky bunches and stretches like nobody's business.
  4. Pre-wash any non-minky fabric, as it will shrink and minky won't.
Perhaps I should stick with cotton fabrics from now on?

Good luck!

Monday, December 12, 2011

my first quilt


I had been pondering the idea for years, but never took the time to actually start one. In actuality, I lacked the time and the confidence.

But this summer I decided I would stop making excuses and attempted my first quilt. I had no idea where to begin, so I just went to Jo-Ann's and purchased one of their kits. I thought the colors were feminine and bright and knew they would work for my sweetie's sister-in-law, who was having a baby girl at the end of August.

Once I brought it home, I realized that I hadn't made the best choice. Some of the fabric was satin, so it didn't cut well, and it was fraying everywhere. The original pattern didn't include any actual "quilting"; instead it came with backing fabric to attach to the top...no batting, no binding, no quilting involved. But I ended up adding my own batting and binding and quilted it to make it more authentic.

It didn't turn out too shabby for my first time, but it took what seemed like forever to finish. Part of that was because I insisted on doing it all by hand. I hadn't played with my grandmother's sewing machine in years, so I was convinced that hand quilting was the safer option.

While it was rather simple in design, I was still proud of the finished result. Sadly I forgot to take a picture of the final version before giving it away as a gift; however, I did snap a shot of the quilt top.

Sunday, December 11, 2011

learning to fly

I finished my second (ever) quilt yesterday. My co-worker is having a baby boy at the end of this month, so it was the perfect opportunity for me to put together another of my crooked creations.

I love to sew, but I have always figured everything out as I go. I don't like reading or following the directions. I've never taken formal classes or asked for help. So instead I make it harder on myself by plowing through the unknown blindly.

This is true for everything I've done in life. But when it comes to being creative, I don't want to wait until someone else shows me. I want to figure it out now. Instant gratification. Perhaps that is why my piano playing is clumsy and my creations are often off-kilter and crooked, with little use of proper techniques.

I am hoping that the more I practice, the better I'll become and the more "polished" my creations will appear. While I try to tell myself that every snarled stitch and puckered square adds personality to my work, deep down I want to get better and to do it as well as the pro quilters I so admire.

In the meantime I'm dabbling in the onesies craze and attempting to make gifts for all the friends and family members around me having babies.